Blog
Pillow Talk
Great Room Renovation Reveal
Master Bathroom Renovation Reveal
Two Colors - Two Ways: Old Ochre & French Linen
Before I dive into my color lesson for the day, I want to take a quick minute to thank Remodelaholic.
Custom Bathtub Frame
I'm just going to be upfront here - I'm sure what I'm about to write about could be a great DIY project and a fun way to spend a Saturday afternoon. However, the only thing I DIY-ed during this project was pouring myself a glass of wine while I watched in awe as the carpenters transformed a standard bathtub into something HGTV worthy. But, I did take notes during the process and asked a lot of questions, so I want to share with you how to create a custom looking built-in bathtub. This project takes a standard builder's grade tub and gives it a face lift, giving it the appearance of a custom-made tub.

I'm still working on a couple finishing touches, but I promise, a full bathroom renovation reveal is coming soon!

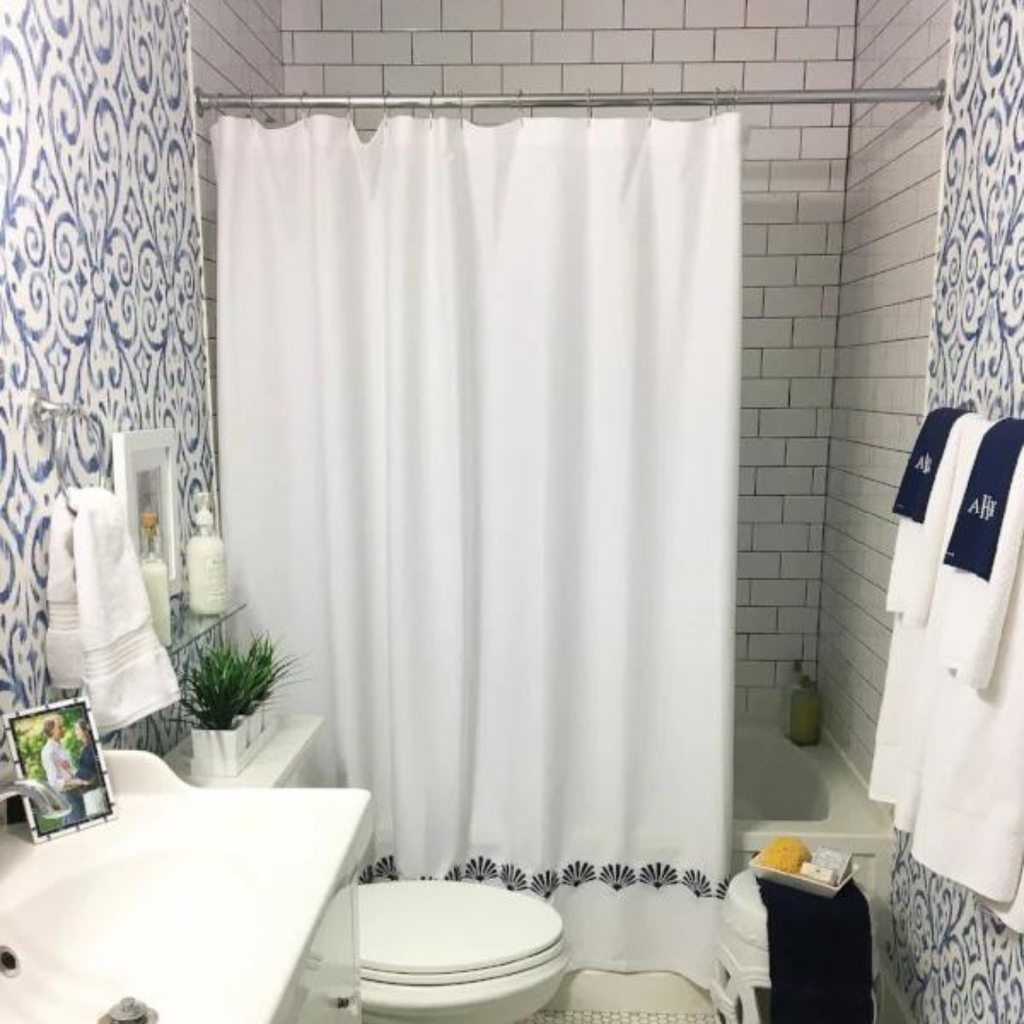
Here's the new tub, in all her glory. As you can see, it's your basic bathtub, straight from the shelves of Home Depot. Once the tub was installed, the tiling went in, dressing it up a bit, but it still needed a kick.

This is where the custom frame comes into play. I mean, just because I bought a standard bathtub doesn't mean I have to live with a standard bathtub. Let's have some fun with it!
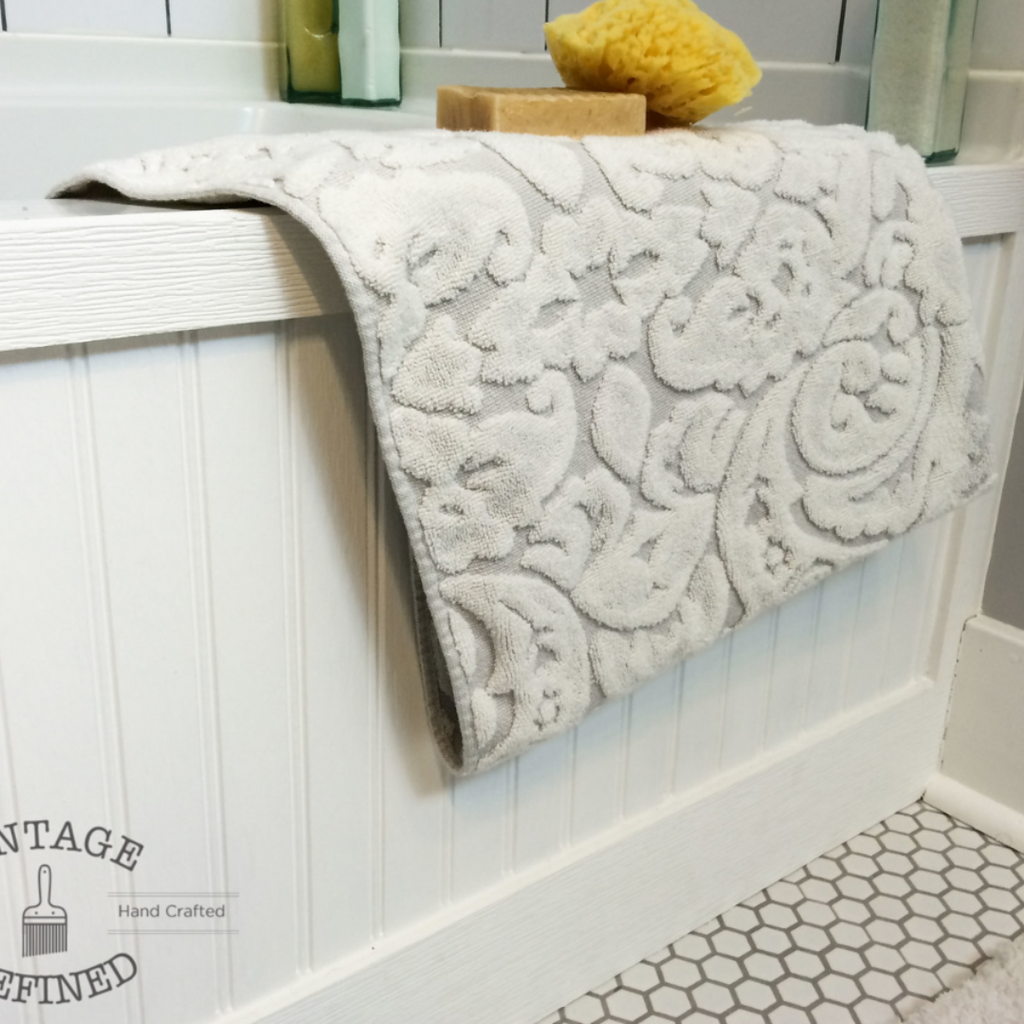
I wanted to create a frame to give the bathtub a built-in look. Since our home's style has a bit of a vintage feel, I opted for a beadboard cover. If you want a more traditional look, you could choose a picture frame style.
Below are the high level steps to achieve this look. You can also check out this site for more detailed instructions.
First, build the outer frame. For this part, we chose a vinyl product by Azek. The material holds up better to water than wood does. One thing to note is we installed this frame before installing the baseboard trim, so we didn't have to cut out a space for the trim. Assuming you already have baseboard trim up, you'll need to notch out a space for it.

You will need a miter saw to cut the edges at a 45 degree angle, creating the outer rectangular frame. Glue the perimeter pieces together with Liquid Nails.

Once the outer frame is built, insert the beadboard into the center, creating one secure panel. Glue the panel to the side of the bathtub with a silicone adhesive. You will need to secure it with clamps until it is completely dry.

When the adhesive has dried, you can caulk the edges with a silicone based caulk. This gives the panel a seamless look as well as prevents water from seeping in between the bathtub and decorative panel.

So, what do you think? Nice little upgrade, huh?!

I think it gives the bathtub a polished and finished feel.

And on top of that, it's a budget-friendly project!